How to Restore Waterproofing to Your Jacket
Keep your outer layers performing their best with these care tips.
Published 12 April 2025
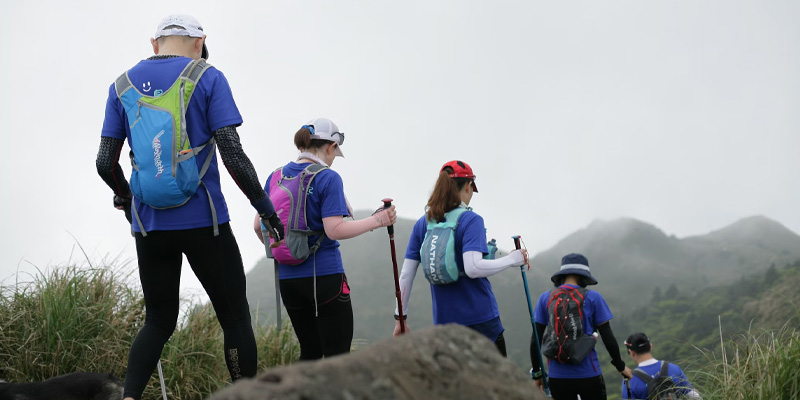
Want to make sure you're using your walking poles to their full potential? Keep reading to find out how to properly use them for optimal support and stability on your next hike.
Walking poles are one of the most underrated pieces of hiking equipment. Used correctly, they can reduce strain on your knees by up to 25%, improve stability on challenging terrain, and even enhance your overall hiking performance.
Whether you're heading on long, flat hikes and want to up your workout game, hiking mountainous terrain, or traversing alpine ridgelines in winter, knowing how to properly adjust and use your poles can make a significant difference in your outdoor experience. This guide walks you through everything from choosing the right poles to mastering techniques for various terrains, including how to optimize your approach for both uphill climbs and downhill descents.
The first step is to choose the correct walking or hiking pole for your needs. Heading on long, flat hikes and want to up your workout game? Go for a Nordic-style walking pole. Hiking mountainous terrain? Try a supportive hiking pole to make your climb easier. Climbing Everest? You might need a little more than a set of walking poles for that one.
 Versatile
Kathmandu's aluminum walking poles offer excellent durability and value. These poles can take a beating on rough trails and are less likely to snap under pressure compared to carbon alternatives. While slightly heavier, the weight difference is minimal for most day hikers. The slight flexibility provides natural shock absorption that many hikers prefer for long-distance comfort.
Ultralight
Kathmandu's carbon fiber walking poles provide maximum weight savings for ultralight enthusiasts and long-distance trekkers. The reduced weight is most noticeable on extended hikes and at higher elevations where every gram counts. Carbon fiber's natural vibration dampening properties also reduce arm fatigue. While more expensive and potentially more fragile in extreme conditions, the performance benefits make them worth the investment for serious hikers.
Start with your arms at a 90-degree angle bent at the elbow. Adjust your pole sections from the bottom up, lengthening or shortening them so that they fit comfortably and make contact with the ground when your arms are bent. Generally, you'll find that the handle should be in line with your hip level for flat terrain. When you reach steep sections, you'll want to adjust your poles—shortening them for uphill climbs and lengthening them for descents (we'll cover this in detail later).
Next, loop your hands through the wrist strap, gripping the handle and ensuring the strap isn't twisted. Tighten the strap so that the pole won't fall if you release your grip, but loose enough so that your hand isn't restricted or uncomfortable.
Trail Tester
"I mark my preferred pole height with a thin line of nail polish on each section. This makes setup much faster when I'm on the trail and ensures I always have the same comfortable height. For different terrains, I note multiple markings - one for flat sections, one for uphill, and one for downhill."
Once you have set up your walking poles, spend a little time mastering your grip with a quick stroll around the neighbourhood. Slip your hands through the strap, securing the strap in place with your thumbs. Start by gripping the pole with your thumb and forefinger, then closing the rest of your hand loosely around the grip. Don't hold your walking poles with an overly tight grip – the wrist straps will keep your poles secure.
The straps on your poles act as shock absorbers as you walk. They free your hands from vibrations that run up the pole. With this in mind, try adjusting your strap so that as you grip the handle just with your fingertips, the strap should support your hand. Doing this will help to reduce any fatigue in your wrists that may come from flicking your poles ahead of you during an entire day of hiking. So remember, let the straps do the work during the majority of the hike, but keep a firmer grip when navigating descents or unstable footing.
Equipment Expert
"The most common mistake I see is hikers gripping their poles too tightly. This causes hand fatigue and can lead to blisters on longer hikes. The strap should be doing 70% of the work. If you properly thread your hand through the strap from below (not from the top), it naturally distributes the pressure across your palm when you push down. This technique alone can transform your hiking experience, especially on multi-day treks."
One of the biggest mistakes people make when using walking poles is to use too much arm motion. Try keeping your arms in a neutral position, using your shoulders to push yourself forward rather than the poles themselves. Pivot the opposite pole forward with a flick each time you take a step. A great way to start is to just let your poles drag behind you as you walk. As you begin to forget that they are there, slowly introduce them into your walking style, digging the tips into the dirt slightly ahead of you. This will help you use your walking poles as an extension of your gait, rather than a separate propellant.
The most efficient technique is to use your poles in opposition to your feet. When your right foot moves forward, your left pole should move forward, and vice versa. This diagonal pattern mimics your natural walking rhythm and provides the most stability. As you encounter different terrain, you'll need to adjust both your pole length and technique—especially when tackling hills.
Master these three basic techniques to get the most from your trekking poles in different terrain conditions.
The Basics: Alternate your poles with opposite legs (right foot forward, left pole forward) - similar to your natural walking rhythm.
For flat trails and gentle terrain (your default technique)
Maintains natural walking rhythm, provides steady momentum, reduces strain on knees
Keep a relaxed grip and plant each pole slightly behind your hand
The Basics: Plant both poles ahead of you before stepping downhill - creating a stable platform before moving forward.
Steep downhill sections and loose terrain
Provides maximum stability on difficult descents, significantly reduces impact on knees
Keep poles slightly wider than shoulder width and take smaller steps for better control
The Basics: Plant both poles forward, then step carefully between them - creating a stable triangle with your body.
Uneven surfaces requiring precise foot placement
Creates a stable platform for careful foot placement in tricky spots, including stream crossings
Maintain three points of contact with the ground when possible (two poles and one foot)
Our team tested these techniques on the Routeburn Track to perfect the natural walking pole motion
Before storing your poles away after a hike, make a mark on each adjustable section in permanent marker so that you don't have to measure the height each time. If you've been trekking in wet climates, disassemble and dry your poles before storing to ensure they stay in the best condition possible. If you find your poles become dirty or the mechanism becomes stuck, follow the manufacturer's instructions to clean them.
Twist-Lock
Kathmandu's twist-lock poles require occasional maintenance to ensure the internal expander continues to grip properly. After particularly muddy hikes, disassemble the poles and gently wipe the expander mechanism with a damp cloth, allowing it to fully dry before reassembly. Once or twice a season, apply a very small amount of silicone lubricant to the expander to prevent sticking.
Lever-Lock
Kathmandu's lever-lock (flip-lock) poles feature external clamps that may require occasional adjustment to maintain proper tension. If your poles begin to slip under weight, use the adjustment screw on each lever to tighten the clamping force slightly. Clean any grit from the locking mechanism after muddy hikes by opening the lever and wiping with a damp cloth. Check the lever bolts periodically to ensure they remain tight, especially after extended use on rough terrain.
Walking poles aid in your stability when taking on hills, especially for any hairy switchbacks. They also help share the load that can be placed on your knees and leg muscles by better incorporating your shoulders and back muscles into your movement. Walking poles can be used to protect yourself on steep sections when heading downhill. However, never rely solely on walking poles to protect you from a fall and never place all of your body weight on them. A failure in the pole's locking mechanism can mean a large fall for you. Use them as a stability aid only and not a crutch.
While some people like to adjust the length of their poles specifically when scaling a hill, this isn't always necessary, but the general rule is that you want shorter poles going uphill and longer poles going down.
Different terrain requires different pole length for optimal support and comfort. The table below shows recommended adjustments, and you can use the interactive visualization to see how it works.
You've completed Kathmandu's guide to using walking poles effectively. You now understand how to select, set up, and use poles for optimal support and stability on any trail.